Guards
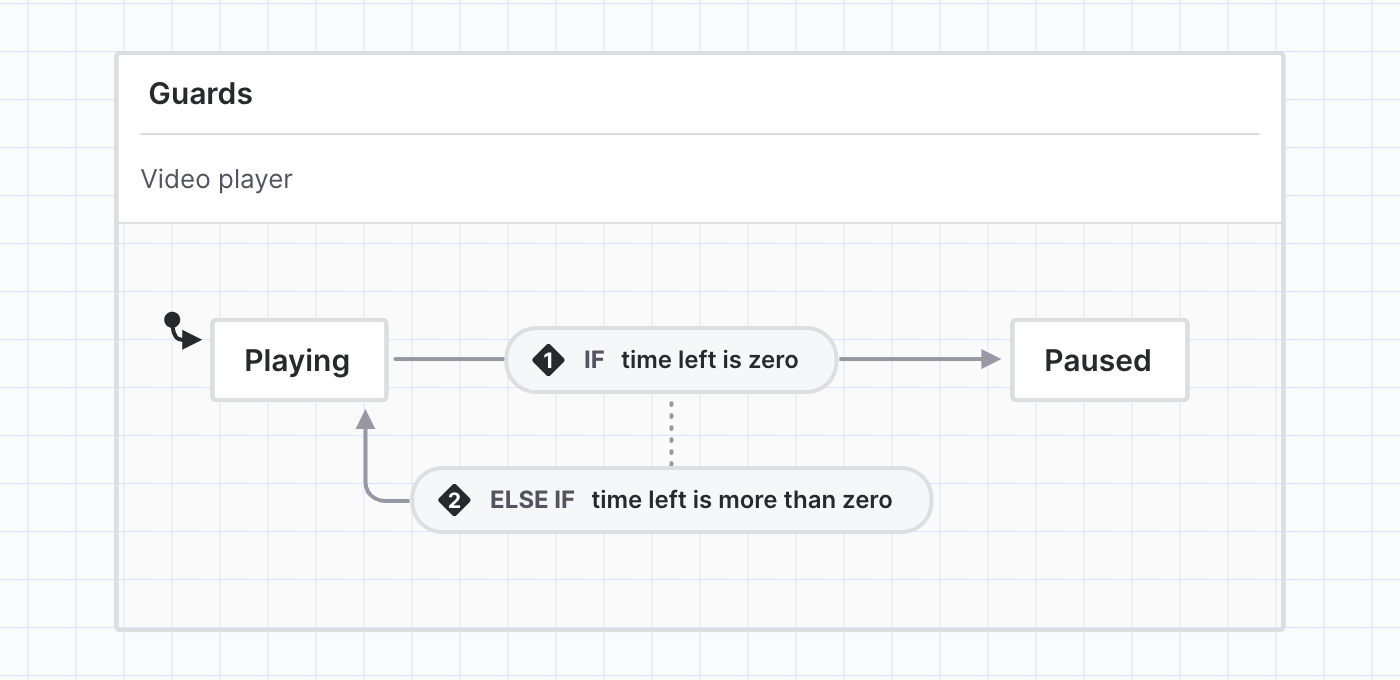
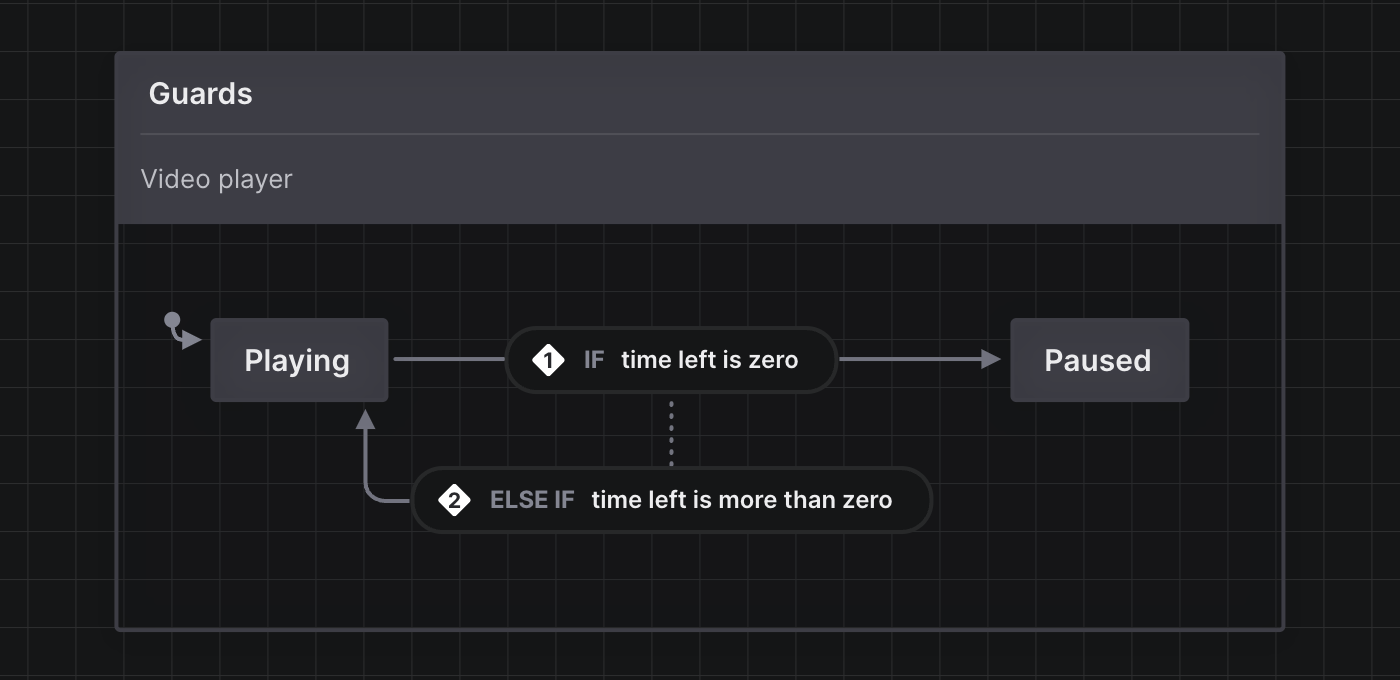
A guard is a condition function that the machine checks when it goes through an event. If the condition is true, the machine follows the transition to the next state. If the condition is false, the machine follows the rest of the conditions to the next state.
A guarded transition is a transition that is enabled only if its guard evaluates to true. The guard determines whether or not the transition can be enabled. Any transition can be a guarded transition.
Guards should be pure, synchronous functions that return either true or false.
const feedbackMachine = createMachine(
  {
    // ...
    states: {
      form: {
        on: {
          'feedback.submit': {
            guard: 'isValid',
            target: 'submitting',
          },
        },
      },
      submitting: {
        // ...
      },
    },
  },
  {
    guards: {
      isValid: ({ context }) => {
        return context.feedback.length > 0;
      },
    },
  },
);
Using guards in Stately Studio


Coming soon… Why you might use guards.
Add a guard to an event
First, select the event where you want to add a guard. Then…
Using the + Transition button
- Use the + Transition button to replace your event with a guarded transition.
- Name your guard by replacing the New guard text inside the event.
Using the quick actions menu
- Right-click the event to bring up the quick actions menu.
- Choose Add guard from the options in the quick actions menu to replace your event with a guarded transition.
- Name your guard by replacing the New guard text inside the event.
Using the Transition details panel
- Open the Transition details panel from the right tool menu.
- Use the Guard text input to name your guard and replace your event with a guarded transition.
Use the + Transition button to create more guards on the same transition.
Multiple guarded transitions
If you want to have a single event transition to different states in certain situations, you can supply an array of guarded transitions. Each transition will be tested in order, and the first transition whose guard evaluates to true will be taken.
You can specify a default transition to be taken as the last transition in the array. If none of the guards evaluate to true, the default transition will be taken.
const feedbackMachine = createMachine({
  // ...
  prompt: {
    on: {
      'feedback.provide': [
        // Taken if 'sentimentGood' guard evaluates to `true`
        {
          guard: 'sentimentGood',
          target: 'thanks',
        },
        // Taken if none of the above guarded transitions are taken
        // and if 'sentimentBad' guard evaluates to `true`
        {
          guard: 'sentimentBad',
          target: 'form',
        },
        // Default transition
        { target: 'form' },
      ],
    },
  },
});
Inline guards
You can define guards as an inline function. This is useful for quickly prototyping logic but we generally recommended using serialized guards (strings or objects) for better reusability and visualization.
on: {
  event: {
    guard: ({ context, event }) => true,
    target: 'someState'
  }
}
Guard object
A guard can be defined as an object with a type, which is the type of guard that references the provided guard implementation, and optional params, which can be read by the implemented guard:
const feedbackMachine = createMachine(
  {
    // ...
    states: {
      // ...
      form: {
        on: {
          submit: {
            guard: { type: 'isValid', params: { maxLength: 50 } },
            target: 'submitting',
          },
        },
      },
      // ...
    },
  },
  {
    guards: {
      isValid: ({ context, guard }) => {
        return (
          context.feedback.length > 0 &&
          context.feedback.length <= guard.maxLength
        );
      },
    },
  },
);
Guards can later be provided or overridden by providing custom guard implementations in the .provide() method:
const feedbackActor = interpret(
  feedbackMachine.provide({
    guards: {
      isValid: ({ context, guard }) => {
        return (
          context.feedback.length > 0 &&
          context.feedback.length <= guard.maxLength &&
          isNotSpam(context.feedback)
        );
      },
    },
  }),
).start();
Higher-level guards
XState provides higher-level guards, which are guards that compose other guards. There are three higher-level guards – and, or, and not:
and([...])- evaluates totrueif all guards inand([...guards])evaluate totrueor([...])- evaluates totrueif any guards inor([...guards])evaluate totruenot(...)- evaluates totrueif the guard innot(guard)evaluates tofalse
on: {
  event: {
    guard: and(['isValid', 'isAuthorized']);
  }
}
Higher-level guards can be combined:
on: {
  event: {
    guard: and(['isValid', or(['isAuthorized', 'isGuest'])]);
  }
}
In-state guards
You can use the stateIn(stateValue) guard to check if the current state matches the provided stateValue. This is most useful for parallel states.
on: {
  event: {
    guard: stateIn('#state1');
  },
  anotherEvent: {
    guard: stateIn({ form: 'submitting' })
  }
}
In-state guards match the state of the entire machine, not the state node. There usually isn't a need to use in-state guards for regular states. Try to model transitions in your state machines so that you don't need to use in-state guards first.
Shorthands
It is recommended to define guards as guard objects, e.g. { type: 'someGuard', params: { ... } }. However, if a guard has no params, you can specify it as a string:
on: {
  someEvent: {
    // Equivalent to:
    // guard: { type: 'someGuard' }
    guard: 'someGuard';
  }
}
TypeScript
Coming soon.
Cheatsheet
Coming soon.